The time has finally come — your bathroom remodel is about to begin! Soon, your porcelain throne room will be your own personal retreat, custom-designed specifically for you. If you’re like most homeowners, the thought of remodeling your bathroom brings a mix of excitement and anxiety. You might be wondering how long you’ll be without a functional bathroom or how the remodel will impact your daily routine.
For the team at Lamont Bros., bathroom remodels are some of our favorite projects. There’s nothing quite like seeing the joy and utility that a well-designed bathroom remodel can provide to a homeowner. Having performed bathroom remodels of all shapes and sizes across the Portland-Metro Area, we understand the intricacies and timelines involved. If you want to know how long your bathroom remodel will take, you’ve come to the right place.
In this article, we’re going to walk you through the process of constructing a bathroom remodel. We’ll talk about each phase of the project and how it can affect the overall timeline. By the time you’re finished reading this page, you should be able to identify the different phases of a bathroom remodel and how long they take to complete. With that, you should be able to estimate how long your own bathroom remodel will take. The specific steps we’ll take include:
- Timeline Overview
- Week 1: Preparation and Initial Construction
- Week 2: Begin Finish Carpentry
- Week 3: Tile & Other Major Finishes
- Week 4: Final Finishes Completion
Preparing For a Bathroom Remodel?
Read Our Bathroom Remodel Buyer’s Guide!
Remodeling your bathroom is about tailoring the space to your specific needs and style. Discover your remodeling options in this free guide written by the experts at Lamont Bros. In it, we’ll cover the different ways to remodel your bathroom, the potential cost, and remodeling best practices.

Bathroom Remodel Timeline Overview
If you’re working with a qualified contractor to build your bathroom remodel, your construction team will have a set of completed design plans to work with. These plans should communicate the entire scope of work for the project. That means establishing what will change, what methods will be used to change it, and which products and materials will be used.
A set of remodel design plans will allow your project manager to more accurately predict the timeline of your bathroom remodel. Using the plans as a guide, the project manager can assemble a schedule. This will give you a good idea of how long your bathroom remodel will take.
Most bathroom remodels take between 3-8 weeks to complete depending on the scope of work. A simple pull-and-replace bathroom or half-bath remodel falls towards the lower end of that spectrum. On the other hand, a fully custom master bath will likely require the full 6 weeks, if not longer.
In this guide, we will use a standard 4-week bathroom remodel schedule as an example.
Week 1: Preparation and Initial Construction
The first week of bathroom remodeling is mostly preparation work. Your build team will take their time to assess and prepare the space before beginning any construction.
Pre-construction meeting: 1 Day
Your design-build team will meet with you to discuss the construction plan for your remodel. Your design consultant, project manager, and superintendent may all be present to answer questions you might have.
They’ll provide you with a presentation about their construction schedule, site protection plan, and any safety concerns you should be aware of. They will likely also discuss how the remodel may affect your lifestyle during construction. This is your opportunity to ask questions and communicate any expectations you have.
Jobsite Protection: ½ – 1 Day

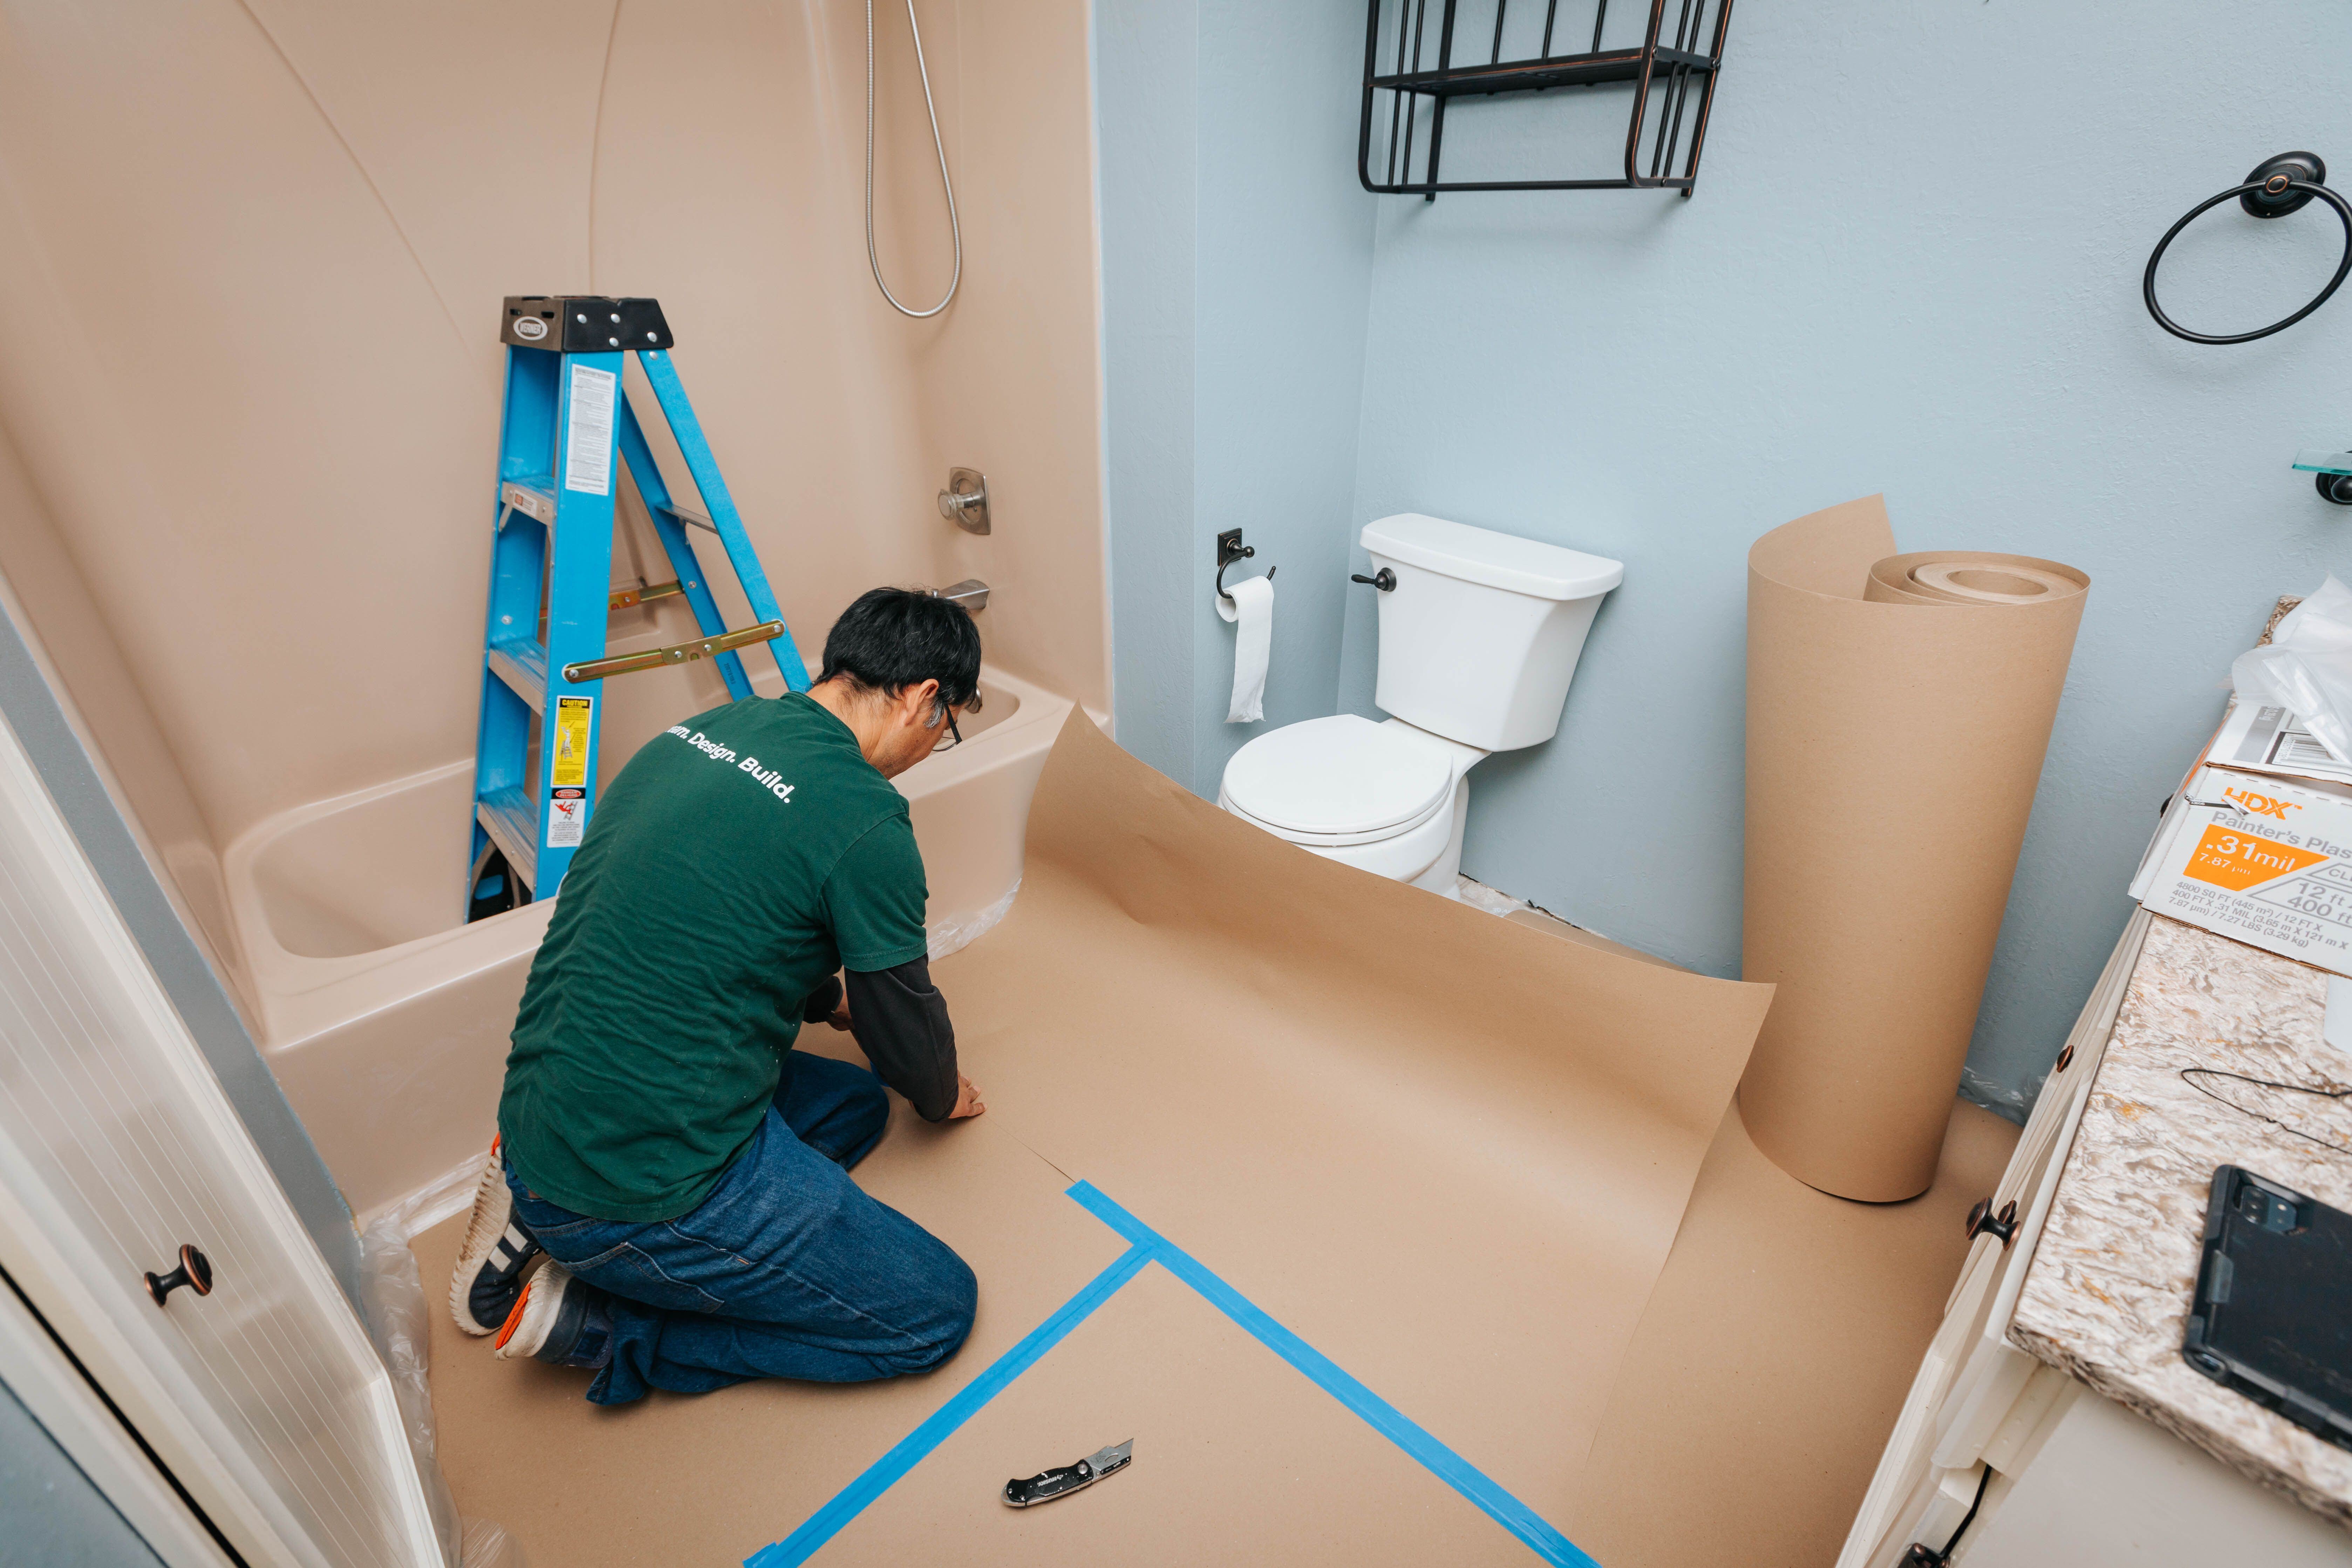
During a remodel, it’s important to contain the effects of construction work within the construction zone. Otherwise, the construction activities could damage other parts of your home that aren’t being worked on. The goal of a site protection plan is to keep the construction activity from damaging other finished surfaces in the house.
When doing a bathroom remodel, one of the most important areas of protection is between the work zone and the access door. A bathroom remodel involves carrying lots of materials in and out of the house. To avoid damaging the walls or floor while carrying out demolished material and bringing in new items, the build team may lay down protective floor coverings and temporary plastic walls along the access corridor.
Demolition: ½ – 1 Day

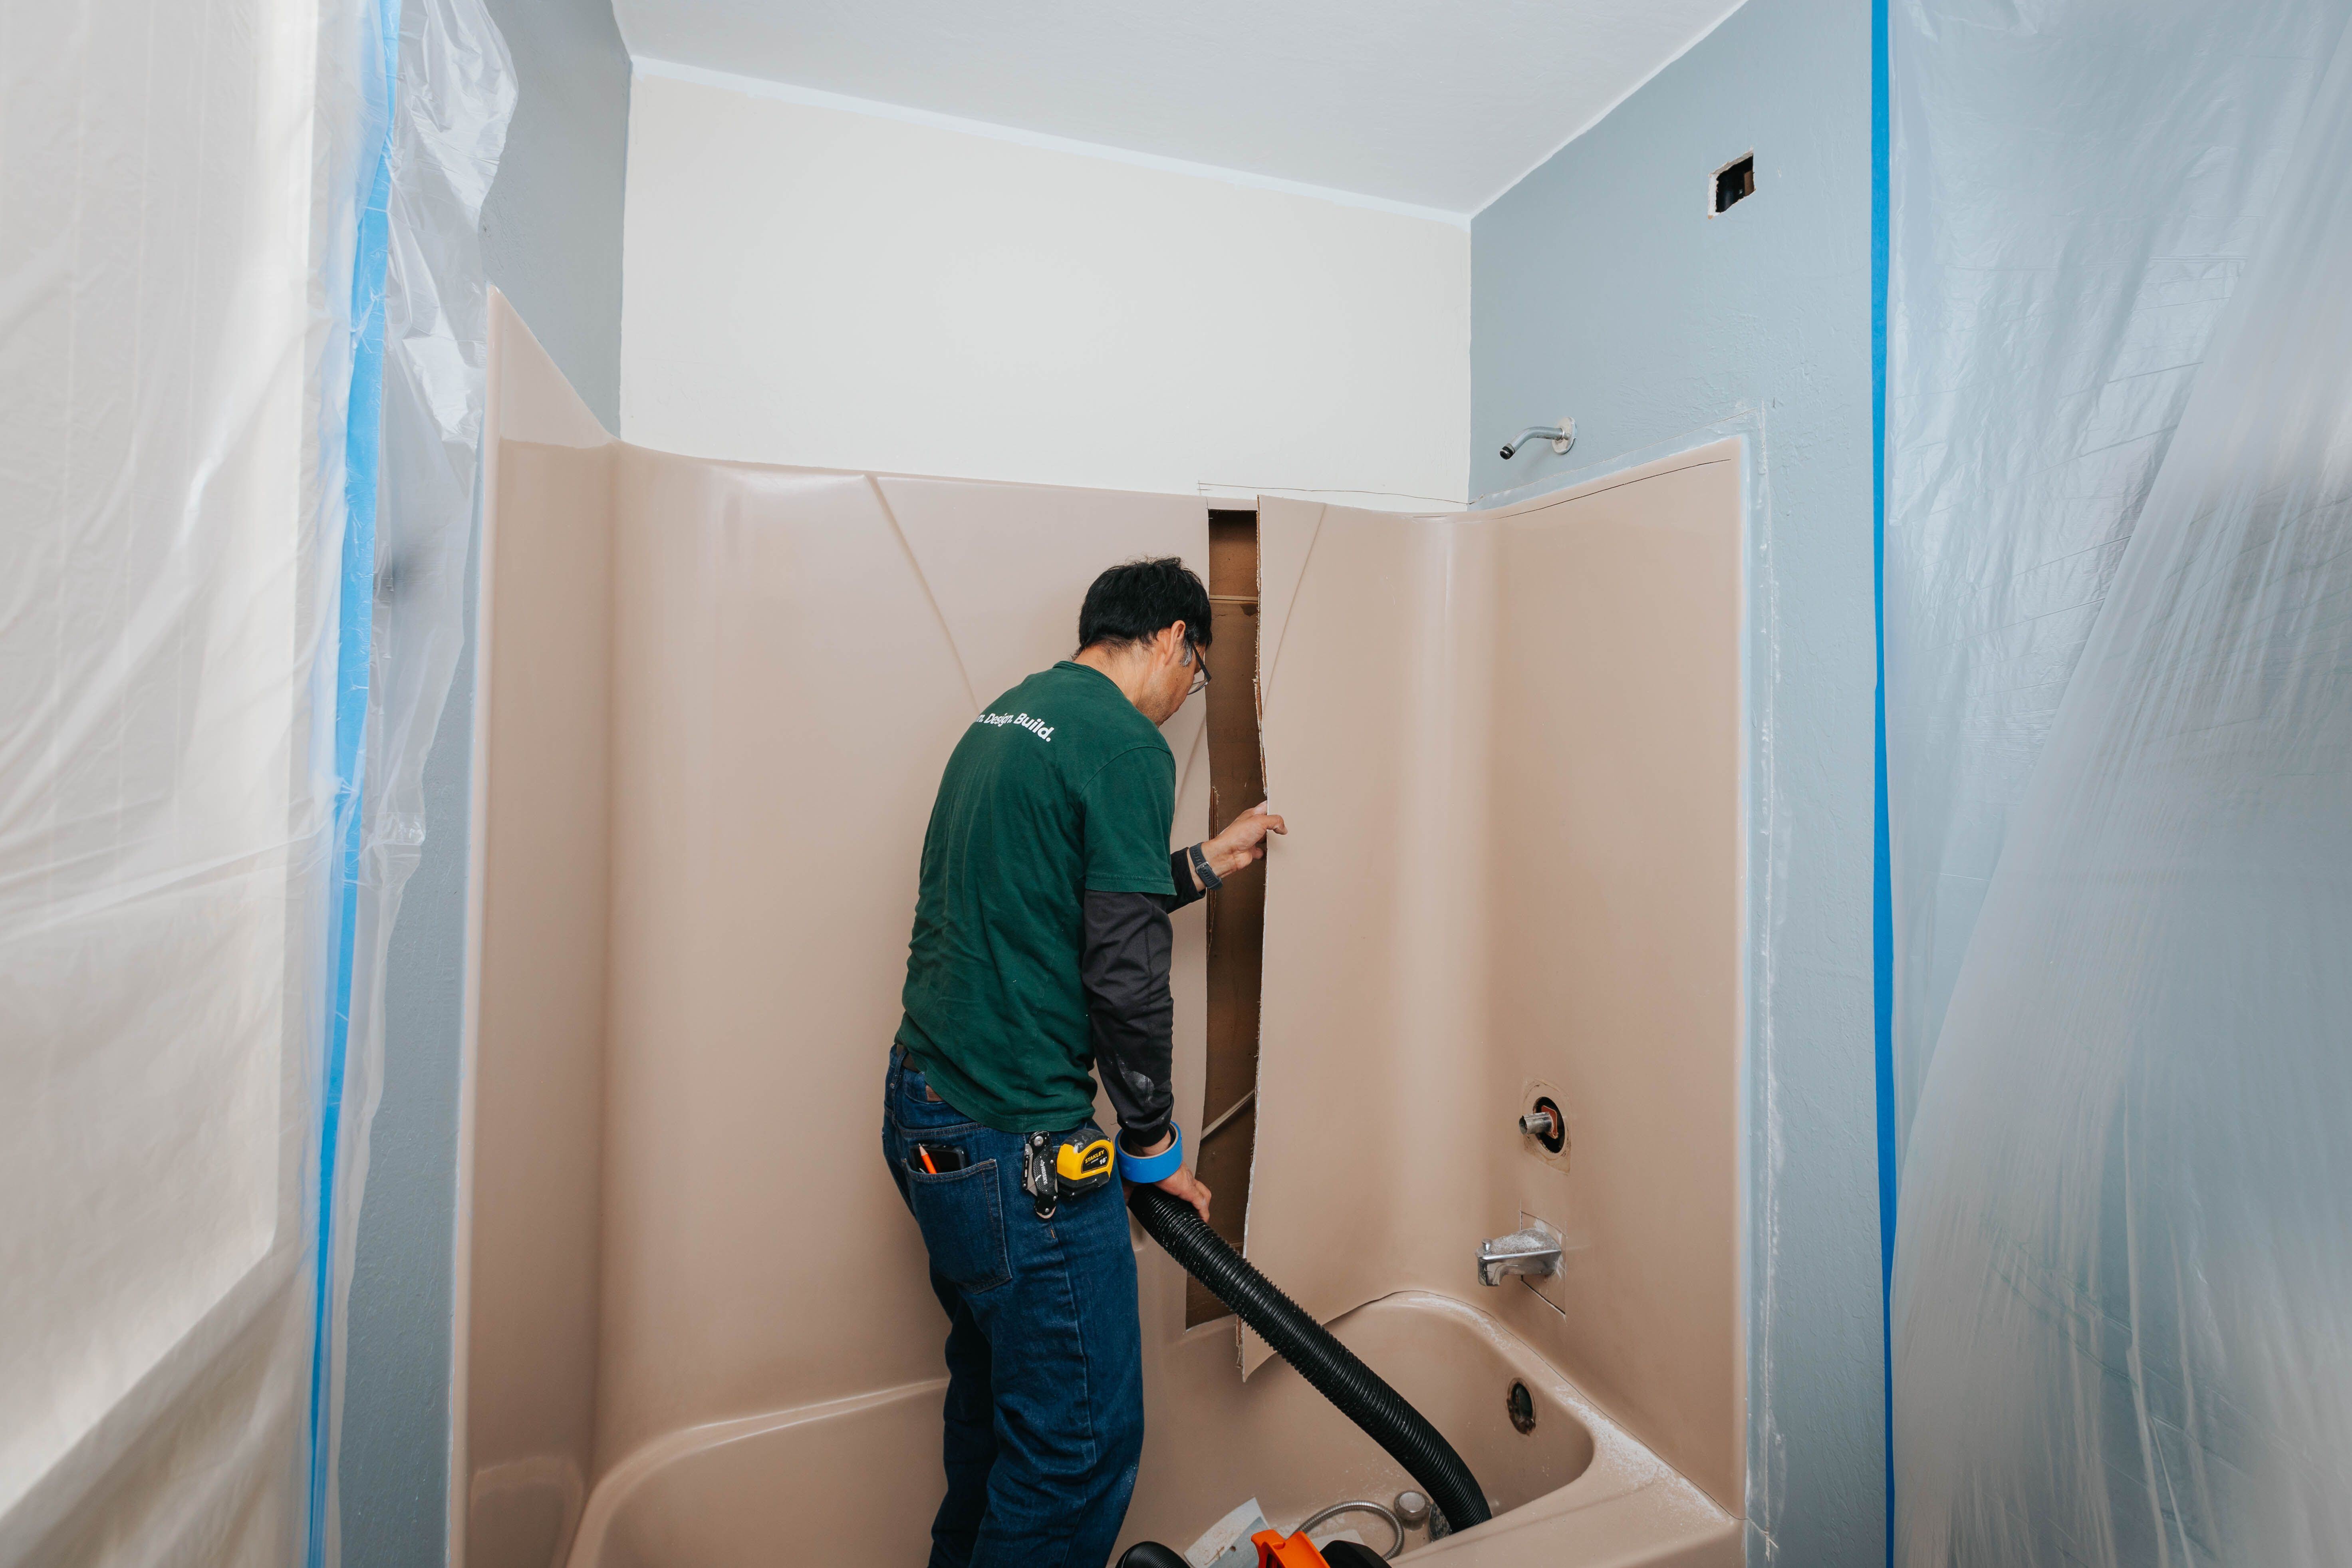
The process of demolition means tearing out the old bathroom to make room for the new one. While this may sound like all fun and games, there’s more to demolition than simply swinging a sledgehammer around.
In order to be fully prepared for new construction to begin, the space must meet specific demolition standards. The rule is to start with a clean workspace. This means every surface must be flat, every nail pounded in, and every piece of trim removed. After that, the build team will clean and vacuum the space until all the dust and debris is gone.
If your bathroom remodel is a small enough project, there’s a chance that site protection and demolition should be finished in one day. Most of the time, however, it takes a full day to completely prepare the space for new material.
Rough-in Installation: 2-3 Days
Immediately following the demolition, the rough-in phase begins. The goal of rough-in is to get the major plumbing, electrical, and framing features in place so the build team can close up the walls and begin making major changes to the space.
The plumbers probably won’t install any faucets or shower heads, but they will install new water supply lines and drainage pipes. The Electrician might add a few new circuits to the electrical panel, but he probably won’t install any switches or fixtures quite yet.
Remember, this phase is about the “big picture.” Think of your bathroom like a painting – you have to have a canvas in place before picture can start to take form. The finer details and finishes will come later.
Inspections: 1 Day
If all goes according to plan, an inspector will visit the job site at the end of your first week to ensure that the build team is adhering to building regulations. They’ll pay special attention to any plumbing, electrical, and structural changes to the bathroom.
One of the advantages of remodeling in Portland is their Field Issuance Remodel (FIR) permitting program. This streamlined process is designed especially for remodeling. A single inspector serves as the project’s permitting authority, which makes the process of inspections much smoother and more efficient.
Week 2: Begin Finish Carpentry
At the start of the second week of construction, your bathroom will probably look more like a warzone than a bathroom. Exposed wall studs, pipes sticking out of the wall, and wires hanging from the ceiling are common sights. As week 2 progresses, you’ll see the space start taking the basic form of a bathroom.
Jobsite Preparation: 2-3 Days
After the rough-in passes inspection, it’s time for your build team to start laying down the groundwork for the new bathroom. The process of jobsite preparation is anything but glamorous, but it is necessary.
One of the most important parts of jobsite preparation is to set the height of the subfloor. The subfloor is what your flooring material sits on, so the subfloor must be flat. This is especially important if you’ll be installing tile. Since tile requires a very smooth, uniform surface underneath, your build team could spend many hours preparing the floor.
This phase is also when the waterproof barriers get installed around the shower enclosure. If not installed correctly, these protective membranes can tear, allowing moisture to seep into the wall. As such, most remodeling teams take their time to make doubly sure they do this part right.

Drywall repair: 1-2 Days
If there are a lot of plumbing and electrical changes, that probably also means a lot of drywall got removed. Now, it’s time to seal the walls back up.
While drywall repair isn’t a technically complicated task, it can take many hours to do correctly. Drywall installation involves several steps and requires keen attention to detail. The more repairs your walls need after rough-in, the longer drywall repair will take. If your bathroom remodel design involves installing an entirely new wall, that entire wall will require drywall, as well.
Shower Pan & Inspection: 1 Day
With the water barrier installed in the shower, your build team can now install the shower pan. Typically a simple install job, the challenge of a shower pan is ensuring that it doesn’t leak. Not surprisingly, part of this process involves another visit from the site inspector.
That’s right, at the end of your second week of remodeling, you’re due for another inspection. This time, the inspector checks to make sure the shower pan won’t leak into the floor. They do this by filling up the shower pan and letting it sit for several hours. As long as the pan retains its water and drains correctly, it should pass the inspection.
Week 3: Tile & Other Major Finishes
The third week of construction is all about one thing: tile. The fact of the matter is that most bathrooms today feature tile finishes. You’ll see tile on the floor, in the shower, on the countertop, and even on the wall.
Tile installation: 5-7 Days
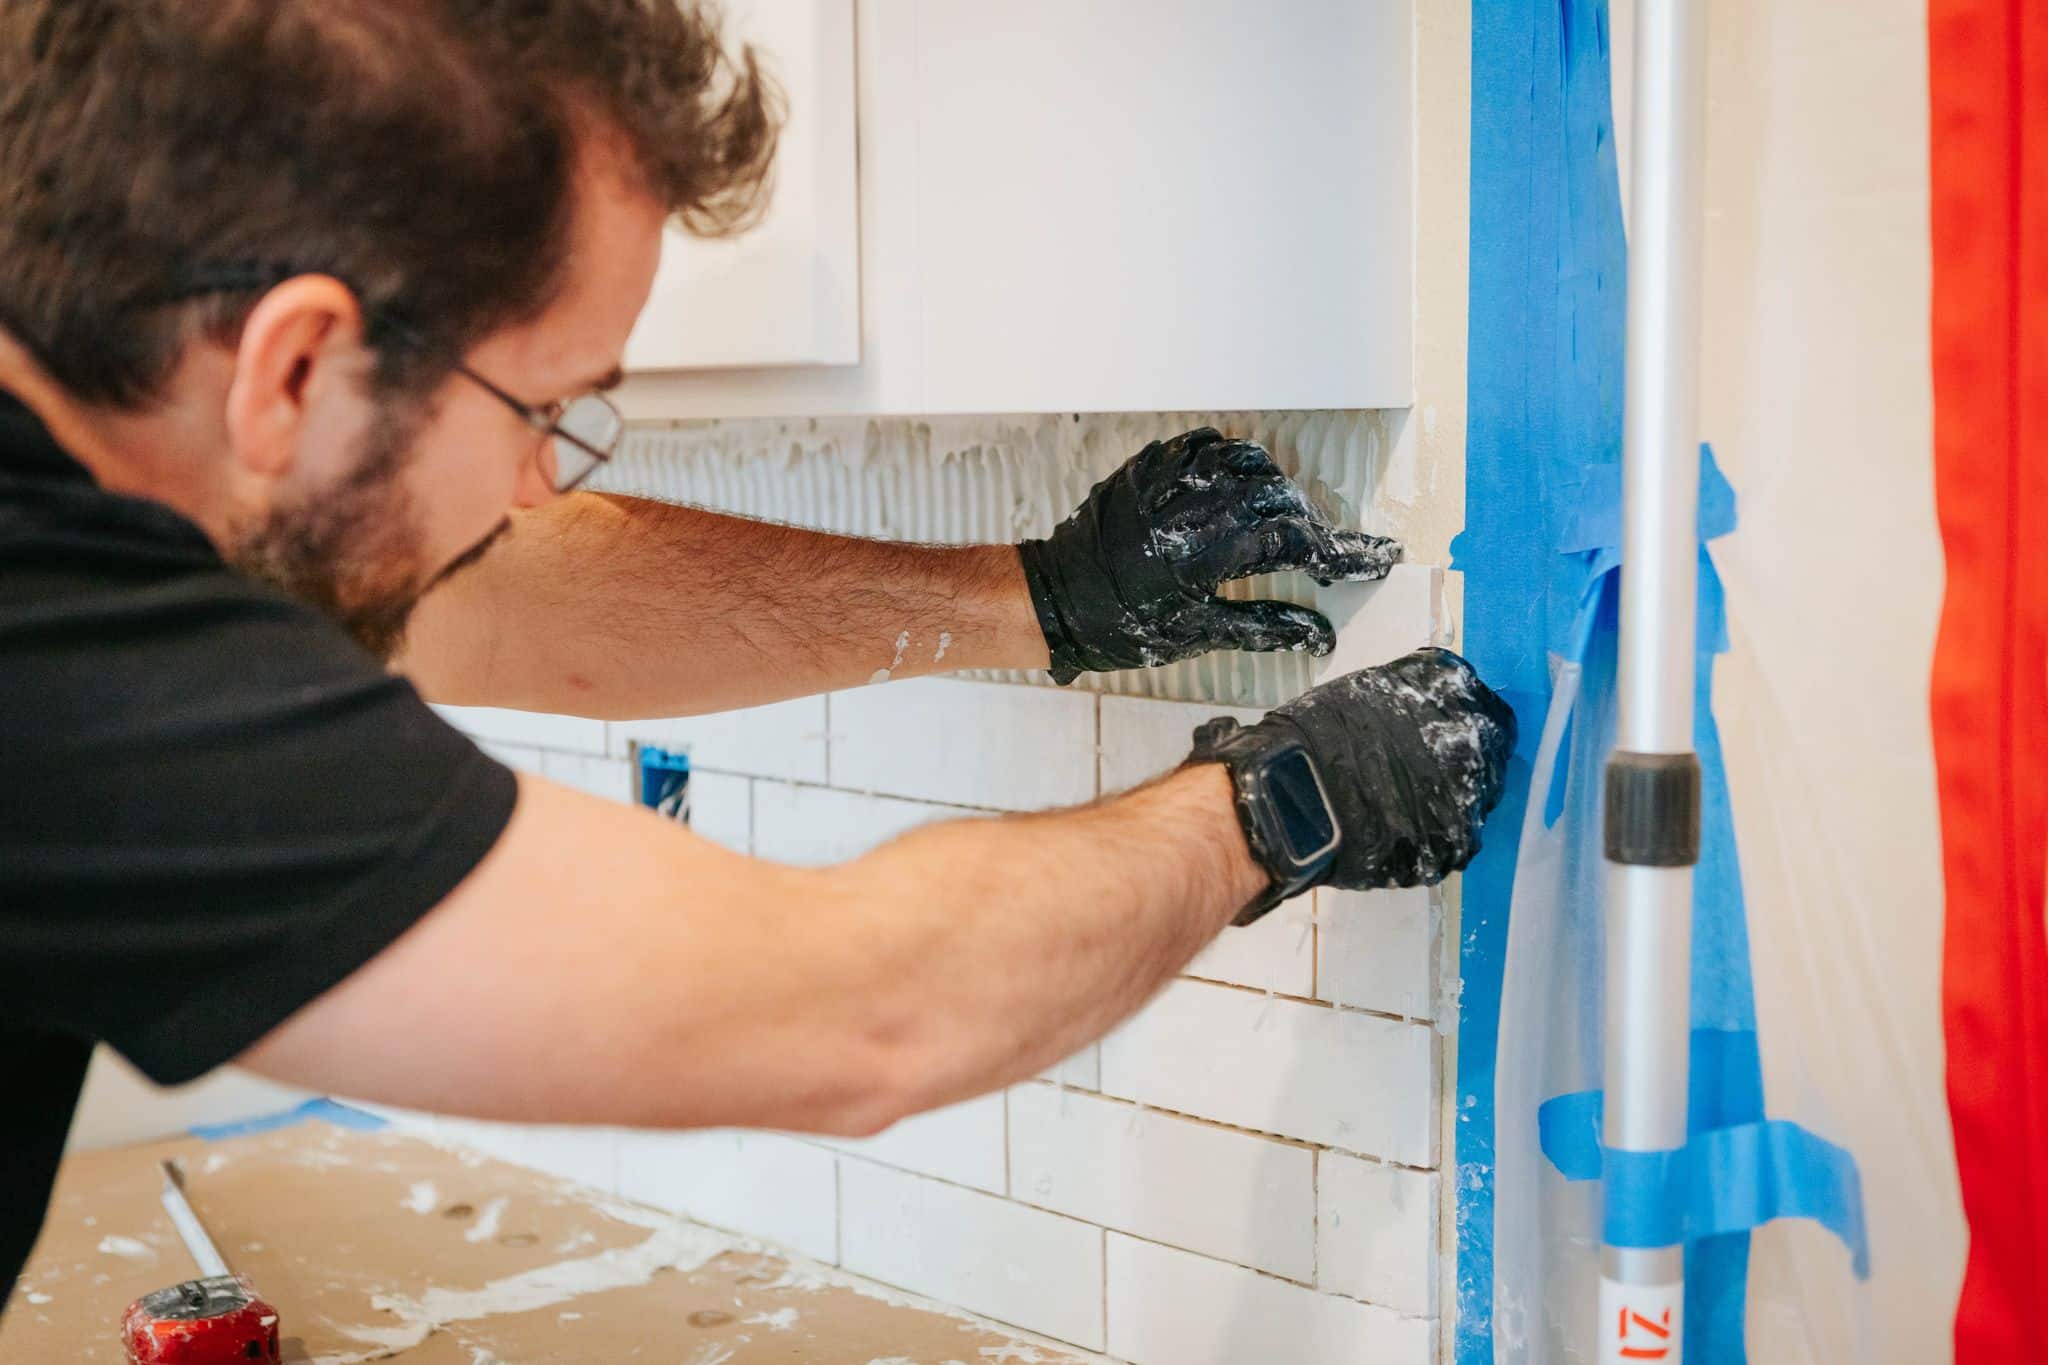
Depending on the amount of tile in your design plans, this phase could take the longest out of any in the construction process. The reason is that tile is a difficult finish material to install correctly. It sometimes takes years for a construction craftsman to master the art of tiling.
As a general rule of thumb, smaller-sized tiles take longer to install than larger ones. This is why it might only take your team a day to install a floor of 12”x12” tiles, and the rest of the week to complete a custom tile shower with 2” mosaic tiles.
Tiling requires several steps. First, the setter must lay down a backing substrate, followed by mortar to hold the tile in place. Then, once the tiles have been set, the installer must mix and install grout between the seams.
While most tile jobs wrap up by the end of week 3, they can take longer. The more tile, the longer it takes. Smaller tiles also mean more installation time. Under the right circumstances, the tile setting may stretch well into week 4.


Week 4: Final Finishes Completion
During the fourth week, the progress of your bathroom remodel seems to move at lightning speed. You’ll start to see your bathroom once again look like a real bathroom.
Plumbing & Electrical Finishes – 1 Day
It’s time for the plumbers and electricians to finish what they started in week 1. Now that we’re nearing the end of the road, we can start installing plumbing fixtures including faucets, shower heads, sinks, and toilets. The electricians will finally get to install switches and light fixtures to the bare wires he left a few weeks ago.
Vanity Installation – 1 Day
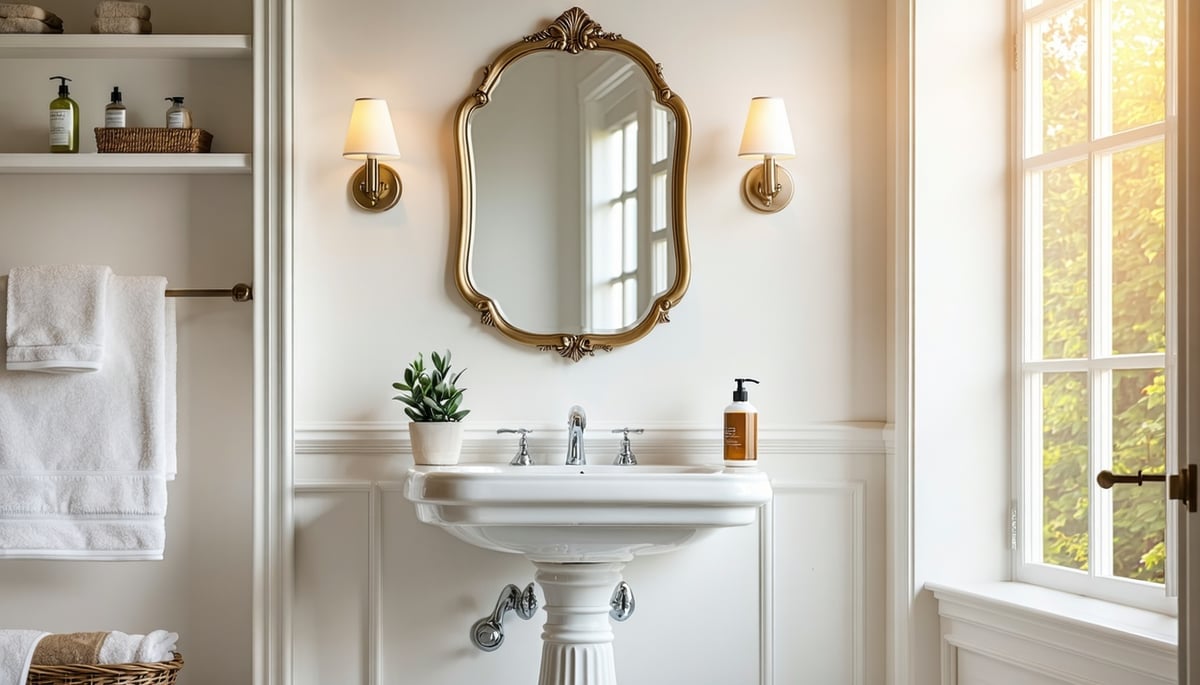
This is one of the biggest steps toward making your bathroom look like a bathroom. The vanity is a defining feature of your bathroom and adds character to the space. It almost always goes in towards the end of the project because the flooring and plumbing must both be completed beforehand.
Finish Carpentry & Final Punch List – 1-2 Days
After all of the major items are in place, the build team enters the final stretch. Finish carpentry involves installing trim, painting surfaces, and ensuring that every fine detail meets quality standards.
Once the job reaches a point of substantial completion, the superintendent will walk through the site with you and ask you for a list of final tasks to do before closing out the project. Once this final punch list is complete, your new bathroom will be ready to use!


Want to talk to a designer about your own bathroom remodel?
After reading this article, you should now be able to identify the different steps in the process of remodeling a bathroom. You should also have a clearer understanding of how long your own bathroom remodel might take. But don’t stop there! Download our free Bathroom Remodel Buyer’s Guide, which covers everything you need to know before beginning a bathroom remodel project.
Are you ready to start designing your bathroom remodel? If so, click the link below to get connected with a member of our design team. We’ll set up a free video consultation to help you navigate the process of remodeling your bathroom.


