
Dealing with a home disaster can be one of the most inconvenient, frustrating experiences for a homeowner. Whether it’s a flood, fire, earthquake, or any other form of home damage, you’ll likely find yourself filing a homeowner’s insurance claim. As you navigate the challenges of restoring your home, you’ll need a restoration contractor at your side to help you navigate the insurance repair process.
As one of Portland’s leading design-build firms, Lamont Bros. works with homeowners to repair their homes following an insurance claim. We’ve been through the process of working with homeowners and their insurance companies many times. If you want to know more about how a restoration contractor handles insurance repair, you’ve come to the right place.
In this article, we will guide you through the key steps to effectively collaborate with a restoration contractor for insurance repairs, ensuring a smooth and efficient process. Once you’ve finished reading, you’ll have the information you need to be able to effectively navigate the process of repairing your home and handle any challenges it throws your way. The topics we’ll discuss include:
- Damage Control
- Defining the Scope of Work
- Developing Design Plans
- Preparing for Construction
- Restoration
- Project Completion
Step 1: Damage Control (Immediate Response and Mitigation)
When disaster strikes your home, swift action and decision-making are both very important in the immediate aftermath. Homeowners can often be left feeling overwhelmed and unsure of where to begin.
Initial Steps Post-Damage
After a home disaster, the first step is always to stop the source of damage and prevent it from spreading. Whether it’s a flood, fire, or a fallen tree on your house, you should address the cause of damage before beginning repairs.
Once you’ve solved the immediate emergency, you should notify your insurance company and begin the claims process.
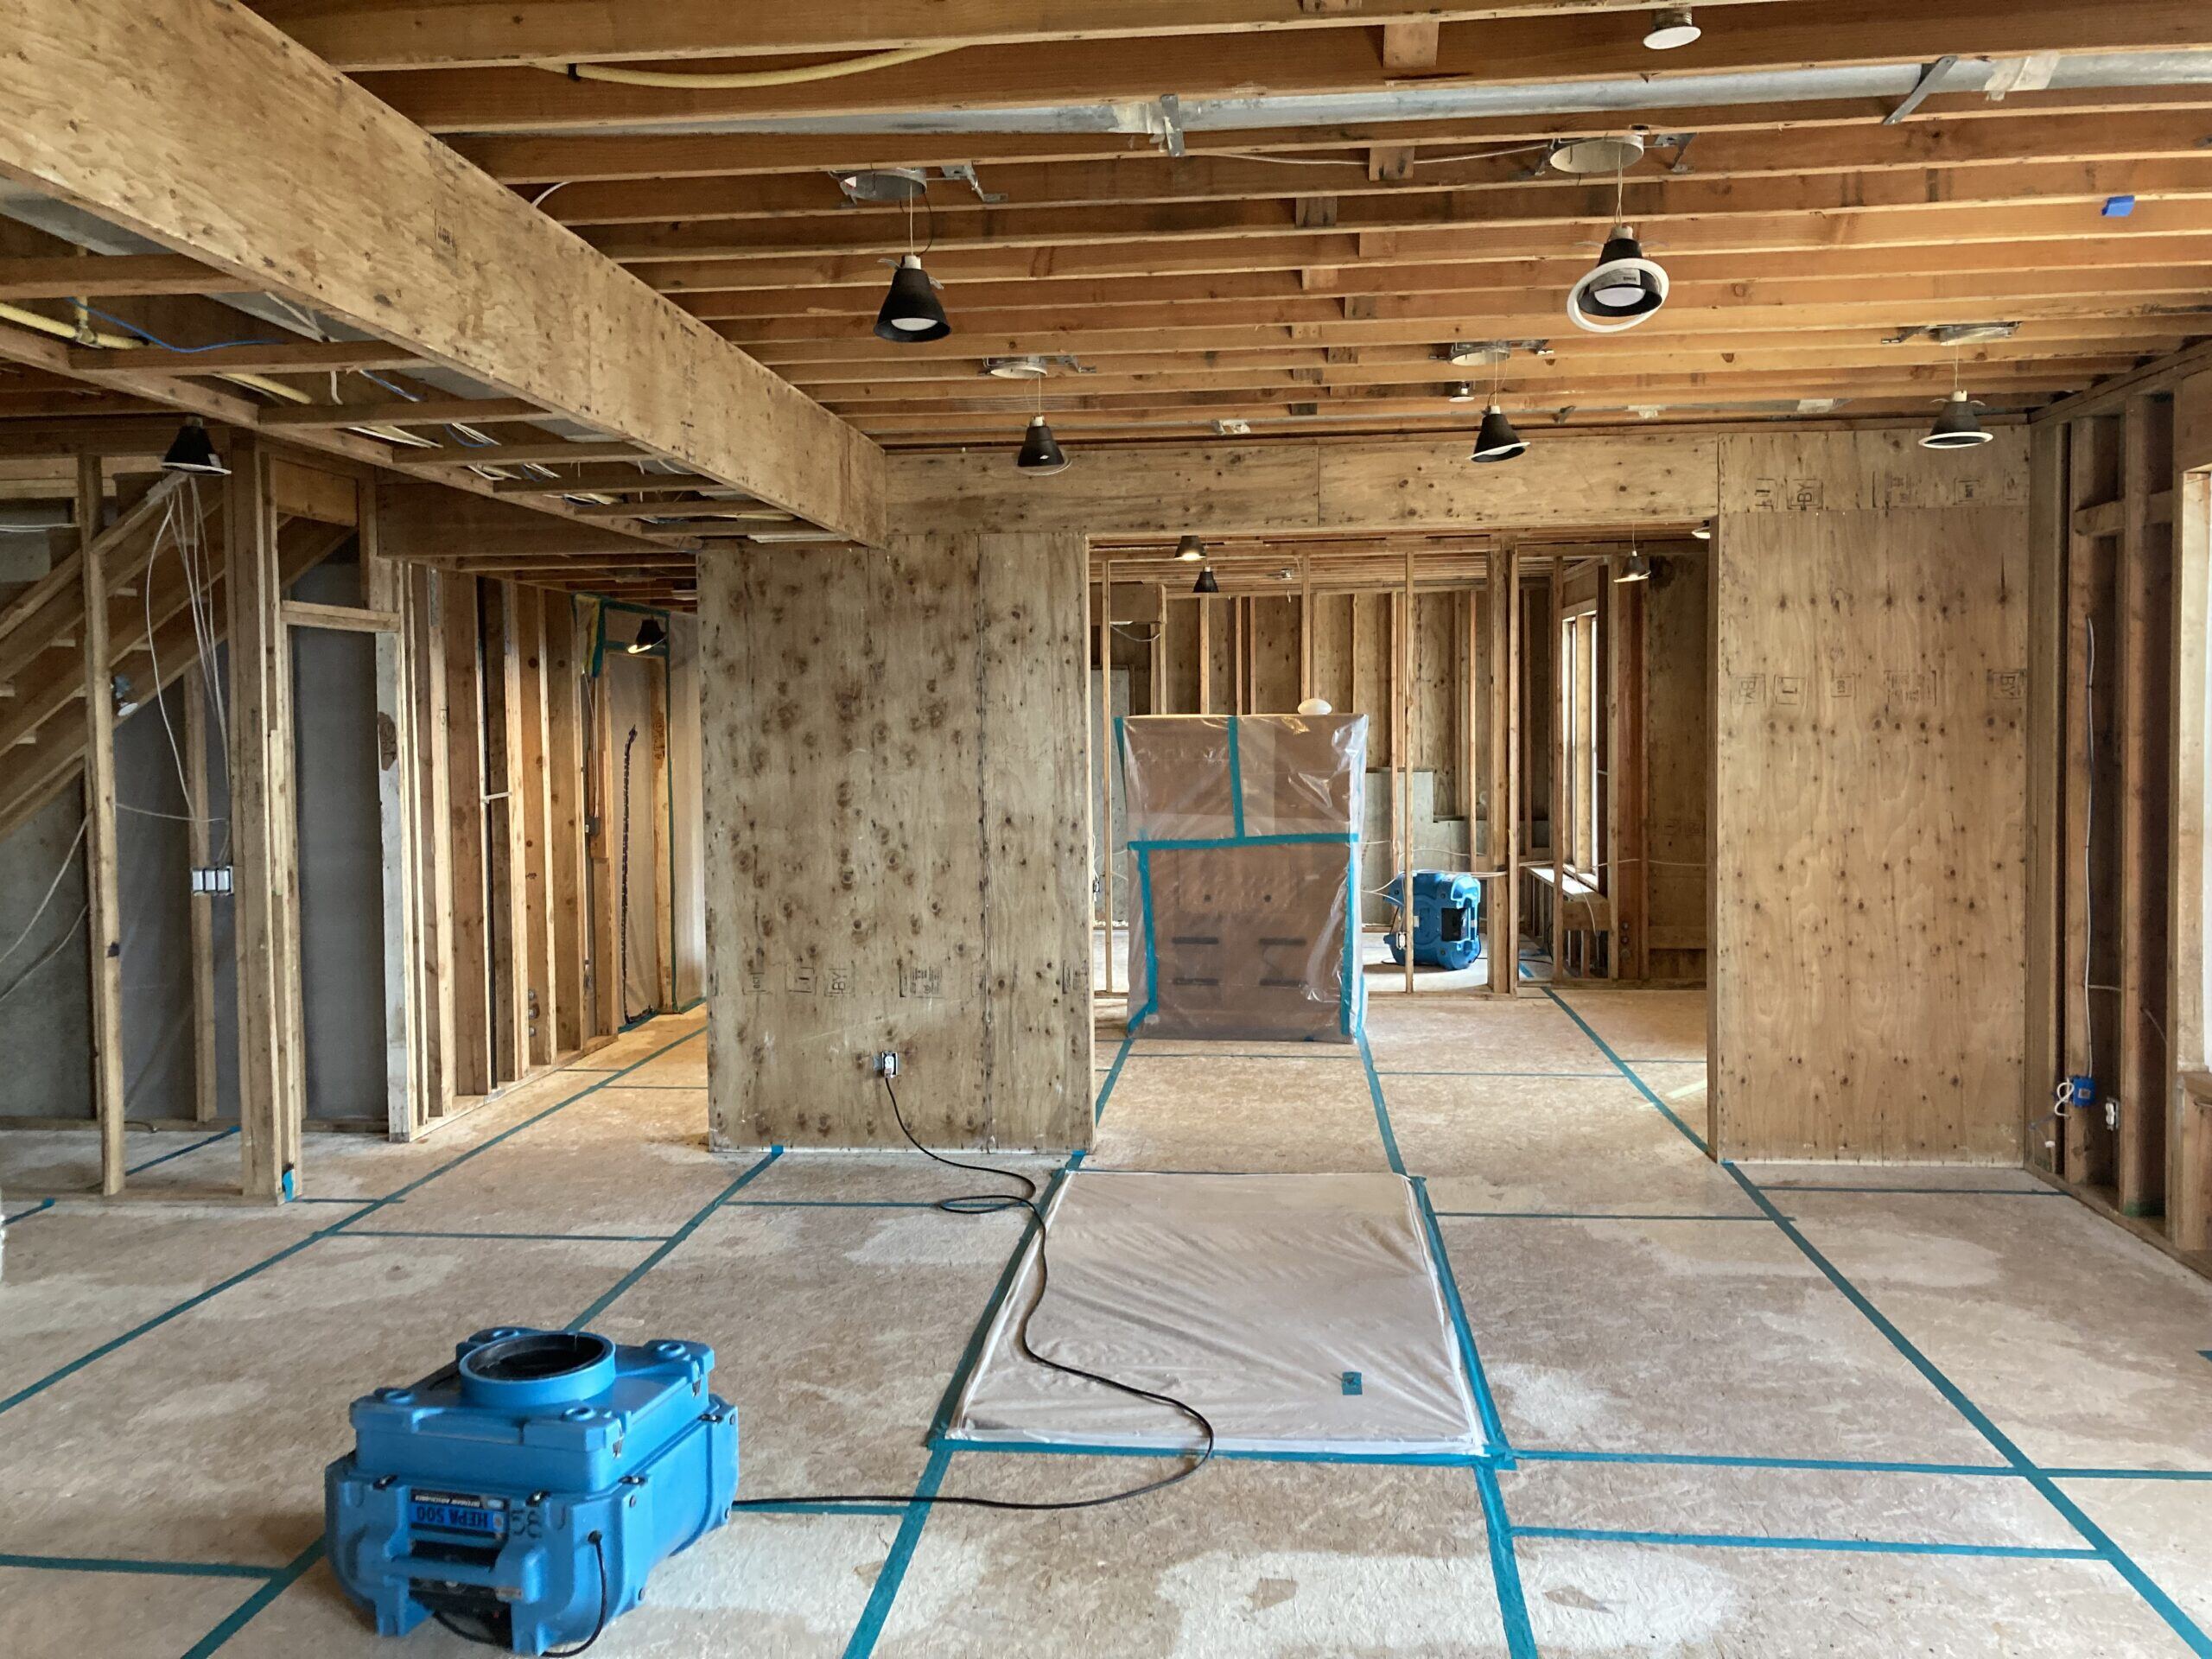
Mitigation Efforts
Once the immediate threat is contained and your insurance company is up to speed, it’s time to begin mitigation.
This process generally involves removing any areas of the home affected by the damage to get it ready for repairs. For example, after a flood, mitigation usually involves removing any remaining water, using fans and dehumidifiers to dry out areas, and tearing out affected materials to prevent mold growth.
Although you may be able to accomplish this yourself, most people will hire a company that specializes in disaster mitigation. Many standalone mitigation companies only handle this part of the process. However, some restoration companies also include a mitigation department.

Documenting and Recording
Documenting every aspect of the damage, the repairs needed, and the repairs completed is critical for insurance purposes. This includes taking photos, keeping receipts, and maintaining a detailed record of all communications and transactions. Accurate documentation ensures that you are fairly compensated for your loss and that the repair process is transparent and accountable.
Working with Insurance Adjusters
The insurance claims process involves working with an insurance adjuster. Their role is to evaluate the damages to your property and determine how much the insurance company is obligated to pay for the repairs.
One important thing to understand is that insurance adjusters represent the insurance company’s interests. Their goal is to pay out as little as possible for the restoration of your home. For this reason, your insurance adjuster will likely quote your repairs at a much lower cost than is accurate or reasonable. Most often, the initial cost estimate from your insurance company will be about 10-50% of the actual cost of repairs.
Whichever contractor you hire to perform repairs, make sure you choose one that has experience working with insurance adjusters. This way, they can help you hold your insurance company to their responsibility to cover the entire cost of repairs.
Step 2: Define (Assessing and Understanding the Scope)
After the immediate emergency is addressed, the next crucial step in your insurance repair journey is to hire a restoration contractor. Together, you can begin to assess the damages and determine the scope of work required to restore your home.
Sign an Insurance Restoration Contract
When it comes to insurance repair, your goal is to get your home restored to its former glory as quickly as possible. is crucial to the success of your repair project. At this point, your top priority should be to find a restoration contractor and sign an insurance repair contract with them.
Before signing a contract, find out whether or not the restoration company will handle claims management on your behalf. Claims management refers to the process of organizing, filing, and justifying repair costs to ensure that your insurance company provides coverage for the costs of restoration.
Defining Pre-Loss Conditions
One key aspect of insurance repair is understanding and defining pre-loss conditions. This means clearly defining the state of your home before the damage occurred.
Legally, the insurance company is obligated to return your home to its original state. How you define the final goal of “pre-loss conditions” directly impacts the clarity and vision of the project moving forward.
Planning for Upgrades
Although your insurance won’t cover the cost for you to make upgrades to your home, you may still want to consider taking the opportunity to improve your space.
Your restoration team can help you explore which upgrades might most benefit your lifestyle or increase the home’s value. Then, they can incorporate those changes into the design plans so restoration and enhancements are built as part of the same project.
The important thing when making improvements during an insurance repair project is to be transparent with your insurance company. Make sure you clearly communicate which costs are for restoration and which are for upgrades.
Submit Full Scope of Work For Insurance Approval
Once your restoration contractor has identified the scope of work required to bring your home back to pre-loss condition, you’ll need to submit the scope for approval by your insurance company. This allows you to align with your insurance company on what needs replaced or repaired in order to bring your home back to pre-loss condition.


Step 3: Design (Planning and Contracting)
Once the scope of work is defined, the next phase involves translating the needs you have identified into a comprehensive plan for restoration. This is where the expertise of a restoration contractor becomes invaluable in the insurance repair process.
Translating Needs into Plans
An effective set of plans will clearly communicate every measurement, feature, product, and material required to complete the project. With this information, your project will have more predictability and transparency, allowing you to better justify expenses to your insurance company based on labor and material costs.
The ultimate goal of the design plans is to ensure that the project will meet your expectations while still adhering to the defined pre-loss conditions.

Involvement of Specialists
Depending on the nature and extent of the damage, specialized assessments or contract work may be necessary. For instance, if the restoration carries risk of structural damage, your team may call in a structural engineer to investigate. Or, if the damage might have compromised your plumbing or electrical systems, they may consult a plumber or electrician to identify risks and figure out potential design solutions.
Submitting Costs to Insurance
After the contractor has put together all the details and costs for your project, you should have an accurate cost for the previously agreed upon scope. You’ll want to get this submitted to insurance as you begin work. Typically it’s at this point after reviewing the scope that the insurance company will send you a sizable check to get started.
Don’t be afraid if they don’t agree to the entire cost immediately. Remember, as one adjustor told us on a conference call, her job is to “protect shareholder interests” for the insurance company. They typically don’t agree to 100% of the costs up front. Typically you’ll get started with the initial check they give you and submit invoices and supplemental scope as you go through the project.
Step 4. Prepare (Material Ordering)
The next crucial phase in the insurance restoration process is preparation. This stage involves your contractor ordering materials, coordinating with any subcontractors on the project, and communicating project progress with the insurance company.
Coordination of Logistics
During the time between design and the start of construction, your team will begin preparing for construction. This involves scheduling the labor, ordering materials, and ensuring that all necessary permits are in place.
This step is about aligning all moving parts of the project, from supply deliveries to subcontractor schedules, in order to avoid any potential delays or issues. Your contractor plays a pivotal role in managing these logistics, ensuring that everything is ready for the build phase.

Communication and Transparency
Throughout this preparation phase, maintaining open communication with your restoration contractor team and insurance company is essential. More specifically, you should keep your restoration team in the loop on any communications from your insurance company to make sure your needs and goals are being honored.
Your restoration contractor needs to know all of the details about the project’s progress and any changes to your claim. This transparency is key to building trust and ensuring that the restoration stays on track according to your expectations and the agreed timeline.
Step 5: Build (Restoration & Additional Billing)
The build phase is where the restoration plan comes to life. This stage is characterized by the physical execution of the construction and restoration work, guided by the detailed plans and decisions made in the previous phases.
Living in a Construction Zone
Depending on the extent of the damage to your home, you may or may not be able to continue living there during restoration. Sometimes the damage is so significant that homeowners must temporarily relocate until construction is complete. Other times, the damage is confined to a single area and can be addressed without you needing to leave.
It’s important to consider how living in a construction zone might affect your day-to-day life. There will be carpenters and subcontractors coming in and out of the home. Dust, heavy machinery, and loud noises can be disruptive to your lifestyle, especially if you work from home or have small children. For this reason, it’s important to prepare ahead of time and have a plan for how you will handle living through the restoration process.
Submit Invoices
In the course of an insurance restoration project, the insurance company typically will pay for invoices as the project progresses. Your insurance company will be much more willing to cover restoration costs once they can see the actual cost of the completed work. While it’s easy for your adjuster to look at an estimate and say, “This shouldn’t cost that amount,” it’s much more difficult for them to argue with the actual cost of work once it is already done.
Your contractor will do their best to uncover any hidden costs during the design phase of the project. However, there is still a possibility that your project may require some extra work outside the original scope.
If this is the case, these extra charges will be sent to the insurance company in the form of supplemental invoices to ensure that they cover the entire cost of restoring your home to pre-loss conditions. Remember, they are responsible for paying the cost regardless of whether these additional chargers were in the original contract.
Project Completion
Before finalizing the project, you will be invited to do a walkthrough of the completed space to ensure that it meets your expectations. Once you are confident that your project has reached completion and all charges are accounted for, you’ll sign off on the project’s completion. Then and only then should you settle the claim with your insurance company.
While some insurance companies may encourage you to settle the claim before the project is complete, it’s always in the homeowner’s best interest to keep the claim open until all of the necessary work is complete.

Step 6: Delight (Enjoy Your Restored Home)
After the restoration work is complete and your insurance claim is settled, it’s time to enjoy your newly restored space. Congratulations, you’ve turned an experience that every homeowner dreads into a successful collaboration between you, your restoration contractor, and all other involved parties to repair and enhance your home.
Your contractor may conduct a follow-up after the project’s completion to ensure that everything continues to meet your expectations and to address any post-completion questions or concerns you might have.
Want to Learn More About Home Restoration?
Now that you understand the process for insurance repair when working with a restoration contractor, do you feel more confident in facing restoration for your own home? If so, take the next step. Navigating the relationship between your contractor and your insurance company can be a challenge. Learn how to successfully collaborate with both by reading our article, “The Restoration Triangle: Homeowner, Contractor, and Insurance Company Roles & Responsibilities.”
Need to speak with a designer immediately about a home restoration project? Click the button below to schedule a free consultation with a member of our design staff. We’ll help you navigate the tricky process of insurance restoration so you don’t have to face the challenges alone.


